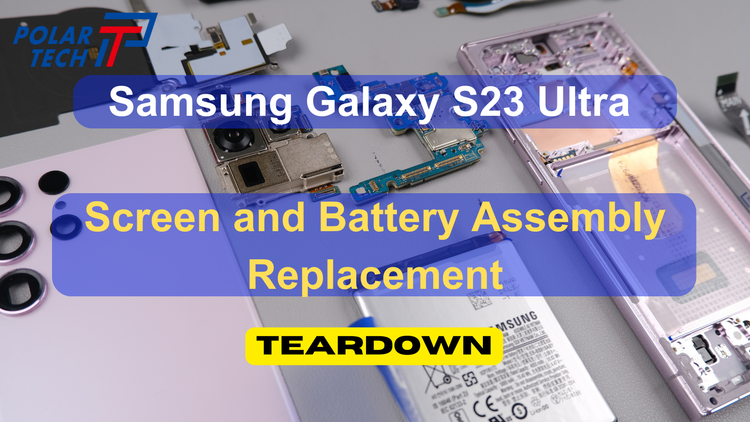
Samsung Galaxy S23 Ultra Screen and Battery Assembly Replacement
Step-by-Step Guide for Samsung Galaxy S23 Ultra Screen and Battery Assembly Replacement
-
Remove the SIM Tray:
- First, remove the SIM tray from your phone.
-
Apply Heat to the Back:
- Use a Magic Heating Pad to apply heat to the back of the phone. This loosens the adhesive underneath.
-
Pry the Backplate Off:
- Use a plastic pry tool to carefully pry the backplate off.
-
Remove Glass Camera Lens Covers:
- If you need to replace the glass camera lens covers, apply some heat and pry them off. This can be done without taking apart the phone.
-
Remove Screws:
- There are 17 Phillips screws to be removed.
-
Disconnect the Battery Cable:
- Disconnect the battery cable followed by the rest of the cables.
-
Remove Speaker Assembly:
- Here's a look at the top speaker assembly, the speaker, and the antenna board located in the corner.
-
Remove Front-Facing Camera:
- The 12-megapixel front-facing camera is glued in place with a cure-in-place gasket. Use a razor blade or an X-acto knife to carefully cut out the glue around the corners and pry the camera out.
-
Remove Bottom Speaker Assembly:
- The vibrator motor (Haptic feedback motor) is located behind the speaker and the housing.
-
Disconnect Flex Cables:
- Disconnect the two flex cables that connect the main board to the sub-board, the flex cable that connects the main board to the screen, the charging flex cable for the S Pen, and the 5G millimeter wave antenna flex cables.
-
Remove Main Board:
- The main board includes the following:
- 12-megapixel ultra-wide lens
- 200-megapixel main camera
- 50-megapixel telephoto with 5x optical zoom
- 10-megapixel telephoto with 3x optical zoom
- OIS (optical image stabilization) on main and telephoto cameras
- Secondary microphone
- Laser autofocus and LED flash
- Disconnect the camera connectors by popping them off.
- Remove the camera assembly to reveal another microphone and a heat transfer film and compound over the processor
- The main board includes the following:
-
Remove Battery:
- Use the provided pull tab to pry the battery off. The battery is a 5000mAh unit.
- Peel back the battery adhesive pouch to reveal the vapor chamber, which helps transfer heat.
-
Remove Sub-Board:
- There are three Phillips screws holding the sub-board.
- The sub-board includes:
- Primary microphone
- Charger port with red and gray rubber gaskets
- SIM reader
-
Microphone and Speaker Protection:
- Don't worry about accidentally puncturing the microphone or filters for the microphones by inserting the SIM ejector tool in the wrong hole. They are seated above the hole and won't get damaged. There is also a rubber gasket and mesh filter over the bottom opening for the speaker.

Final Thoughts
The Samsung Galaxy S23 Ultra gets a repairability score of 9 out of 10. Follow these steps carefully to ensure a successful repair. Good luck with your DIY phone screen replacement.
Where to buy?
[PT-T13][27 in 1] Polar Tech Phone Repair Toolkit Screwdriver Basic Kit Set For Smart Phone & Tabet
[PT-H01] Magic Self-Heating Pad
[With Camera Lens] Samsung Galaxy S23 Ultra (SM-S918) Back Glass Battery Cover (Built-in Adhesive)
Samsung Galaxy S23 Ultra (SM-S918) - Charging Port Connector Sim Reader Mic Sub Board
[EB-BS918ABY] Samsung Galaxy S23 Ultra 5G (SM-S918) Replacement Battery